

How To Fold A Curved Knotted Napkin
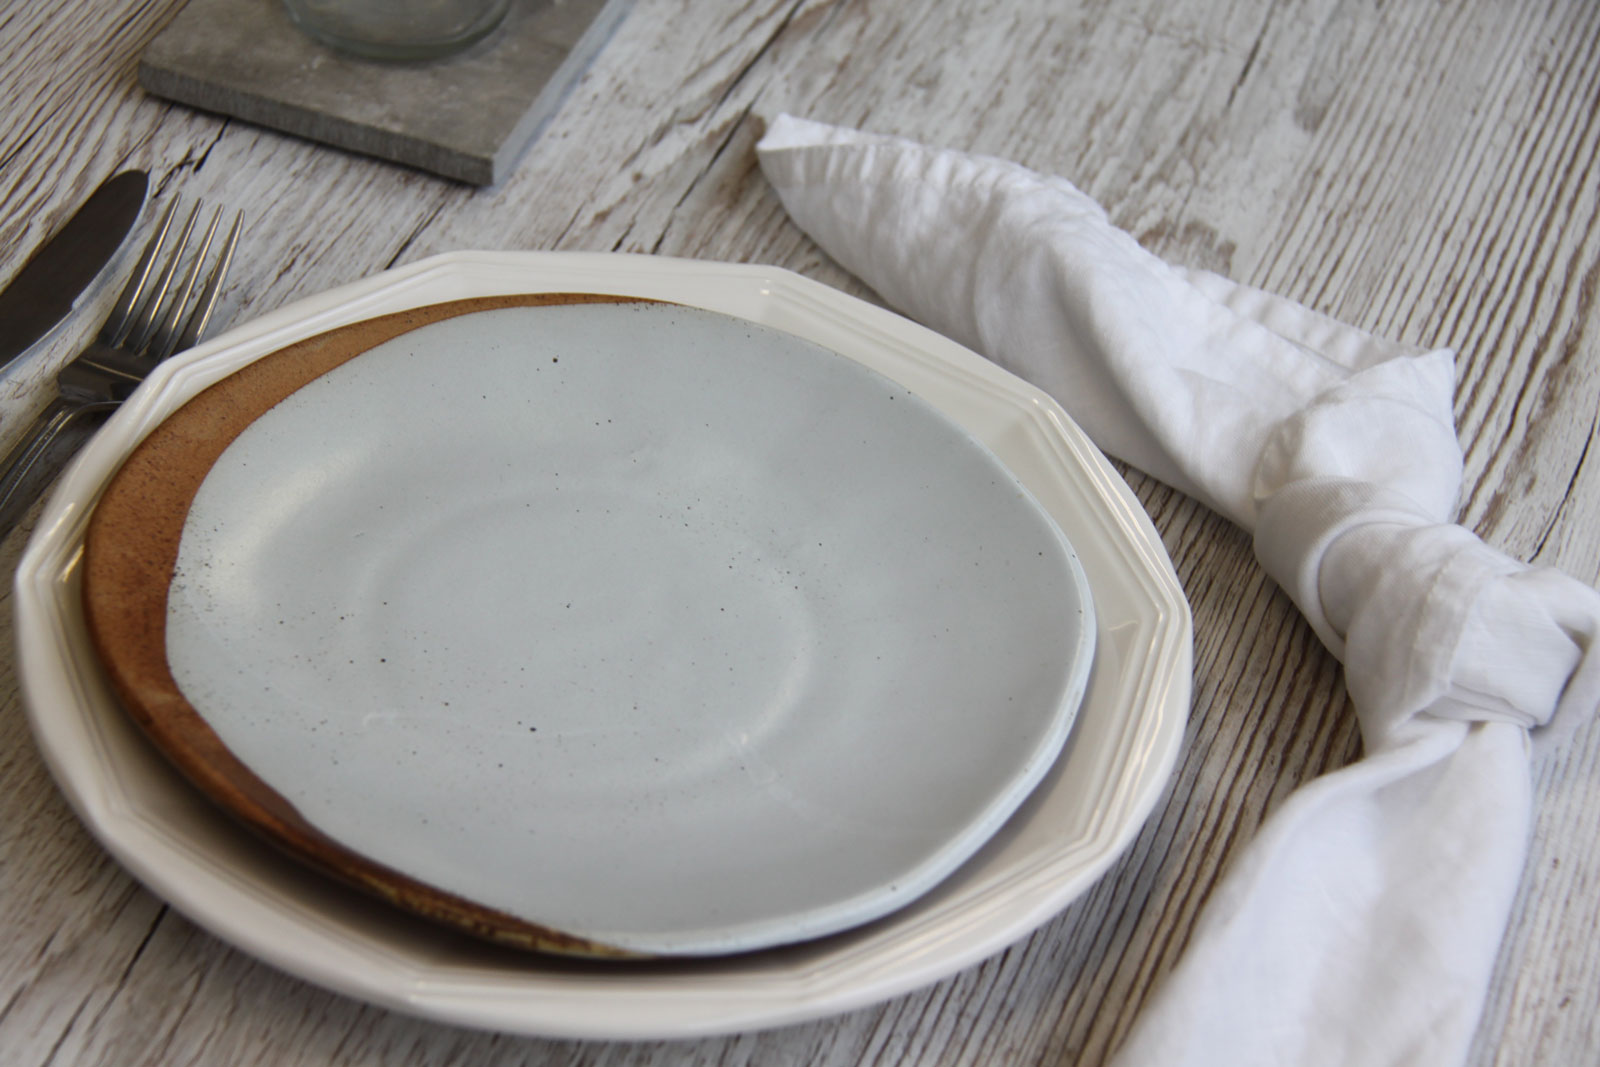
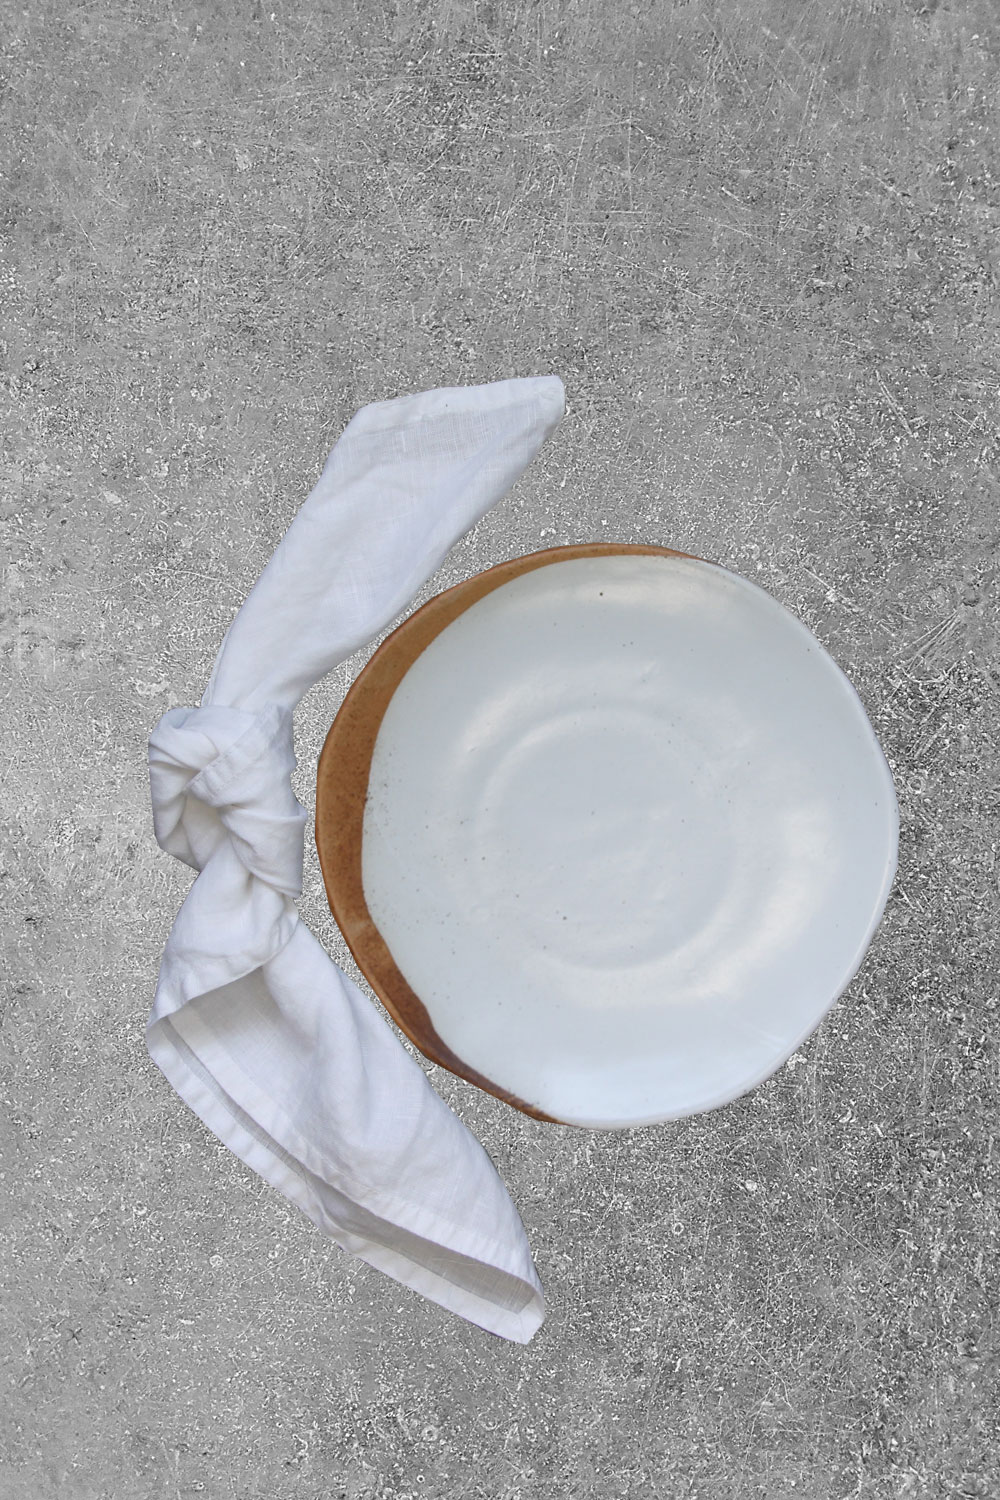
In comparison to the straight knotted napkin, the curved knotted napkin is designed to circle the edge of your plate. This achieves a more elegant look and works better if you want to have a menu or place card atop your plate rather than a napkin.
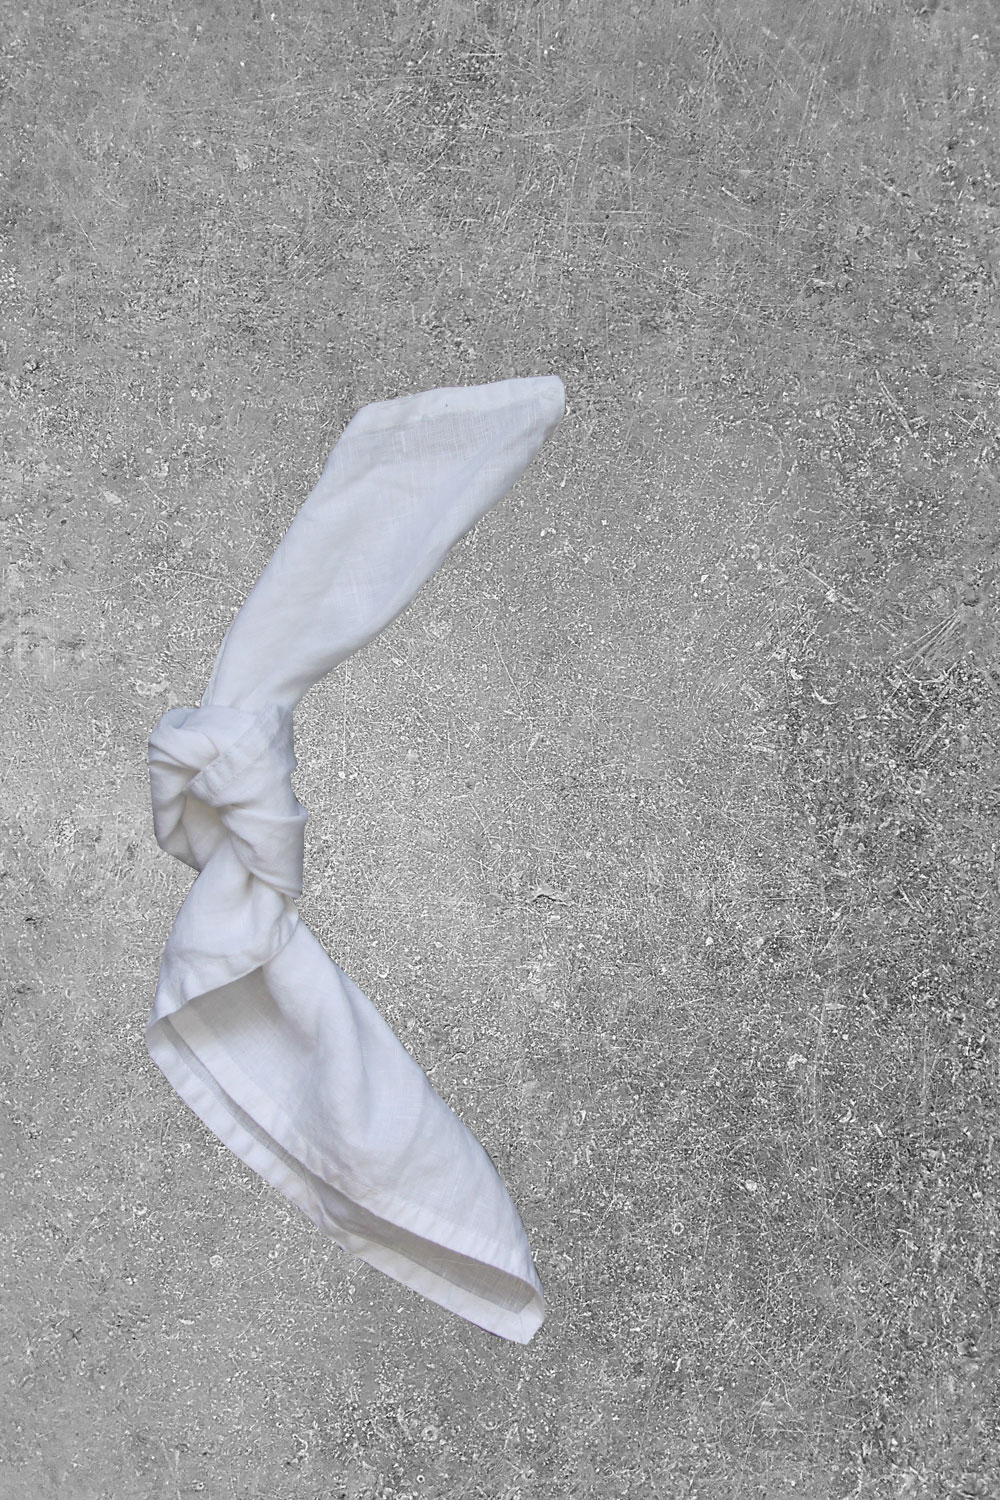
The curved knotted napkin creates a longer napkin, perfect to curl around the plate. This will then work either on the plate or laid next to it. The way you knot the napkin means it automatically creates the circular shape – you don’t have to be concerned about added difficultly trying to shape it. It is slightly fiddlier then the straight knot, however still very achievable for those who are beginners in napkin folding.
The curved knotted napkin creates a longer napkin, perfect to curl around the plate. This works better if you want to have a menu or place card atop your plate.
This design can be styled to suit either relaxed weddings or more traditional affairs. Like the straight knot, you can opt to use a cotton or linen napkin. This will create an understated look. Or you can make a statement with taffeta or satin napkin which will create a much more structured design.
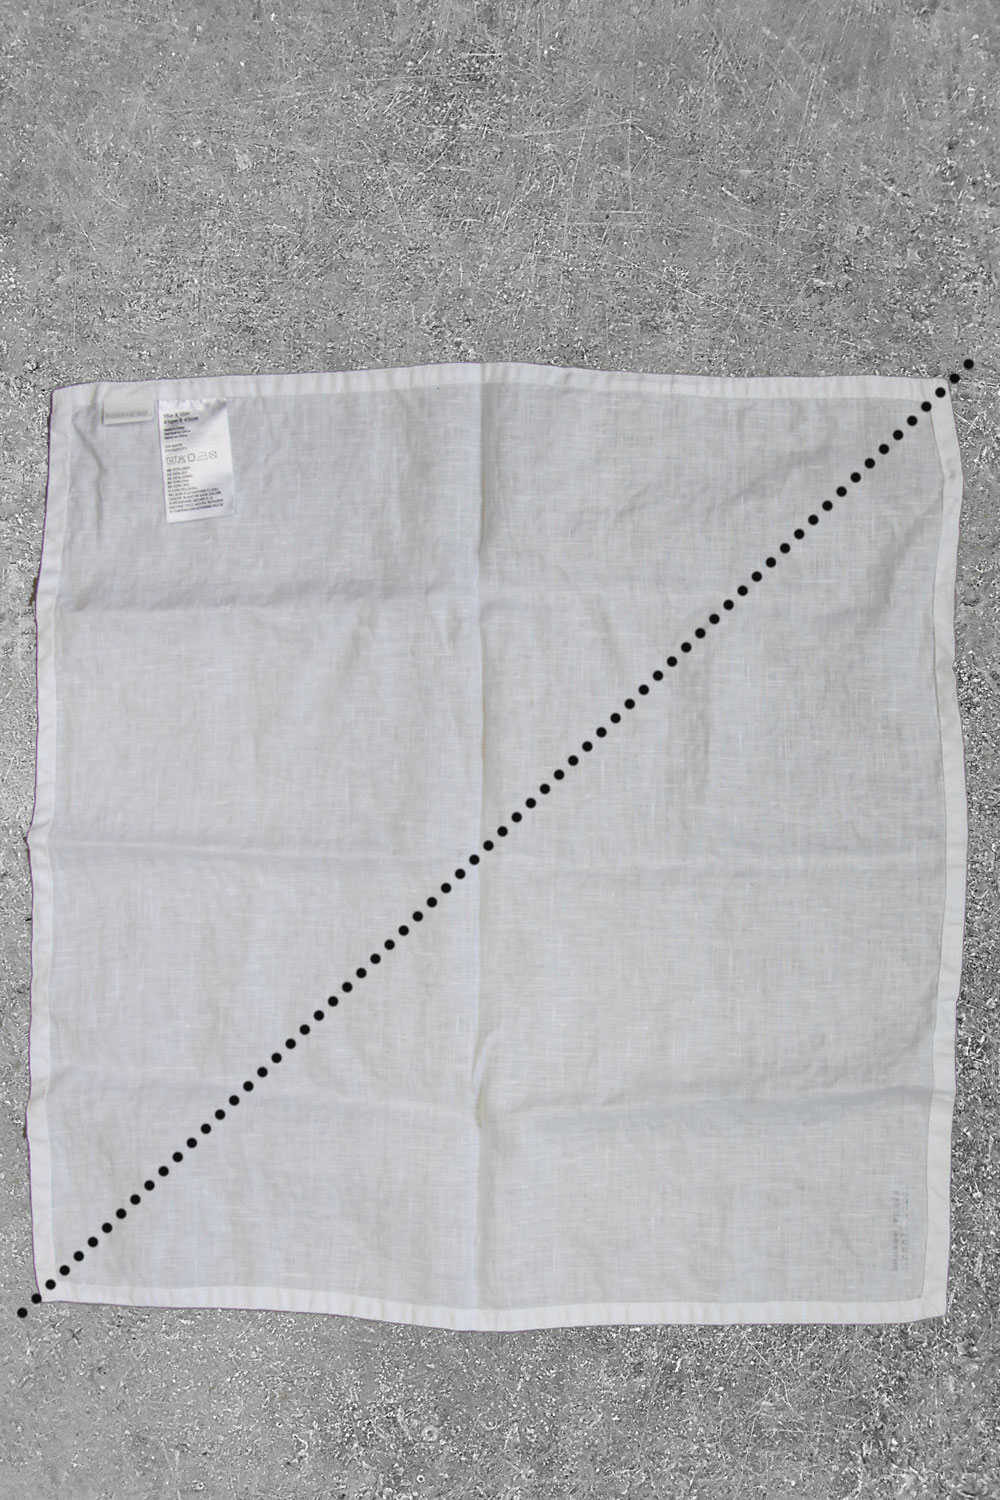
You have to use a square napkin for this style, as it requires you to fold it on a diagonal. This doesn’t work unless you use a square. I would also recommend using a napkin that is one solid colour. This will help you to achieve the perfect curved knotted napkin.
Curved Knotted Napkin – Step By Step
- Iron all of your napkins – this will help you to achieve a more professional looking finish.
- Lay you napkin upside down on a flat surface.
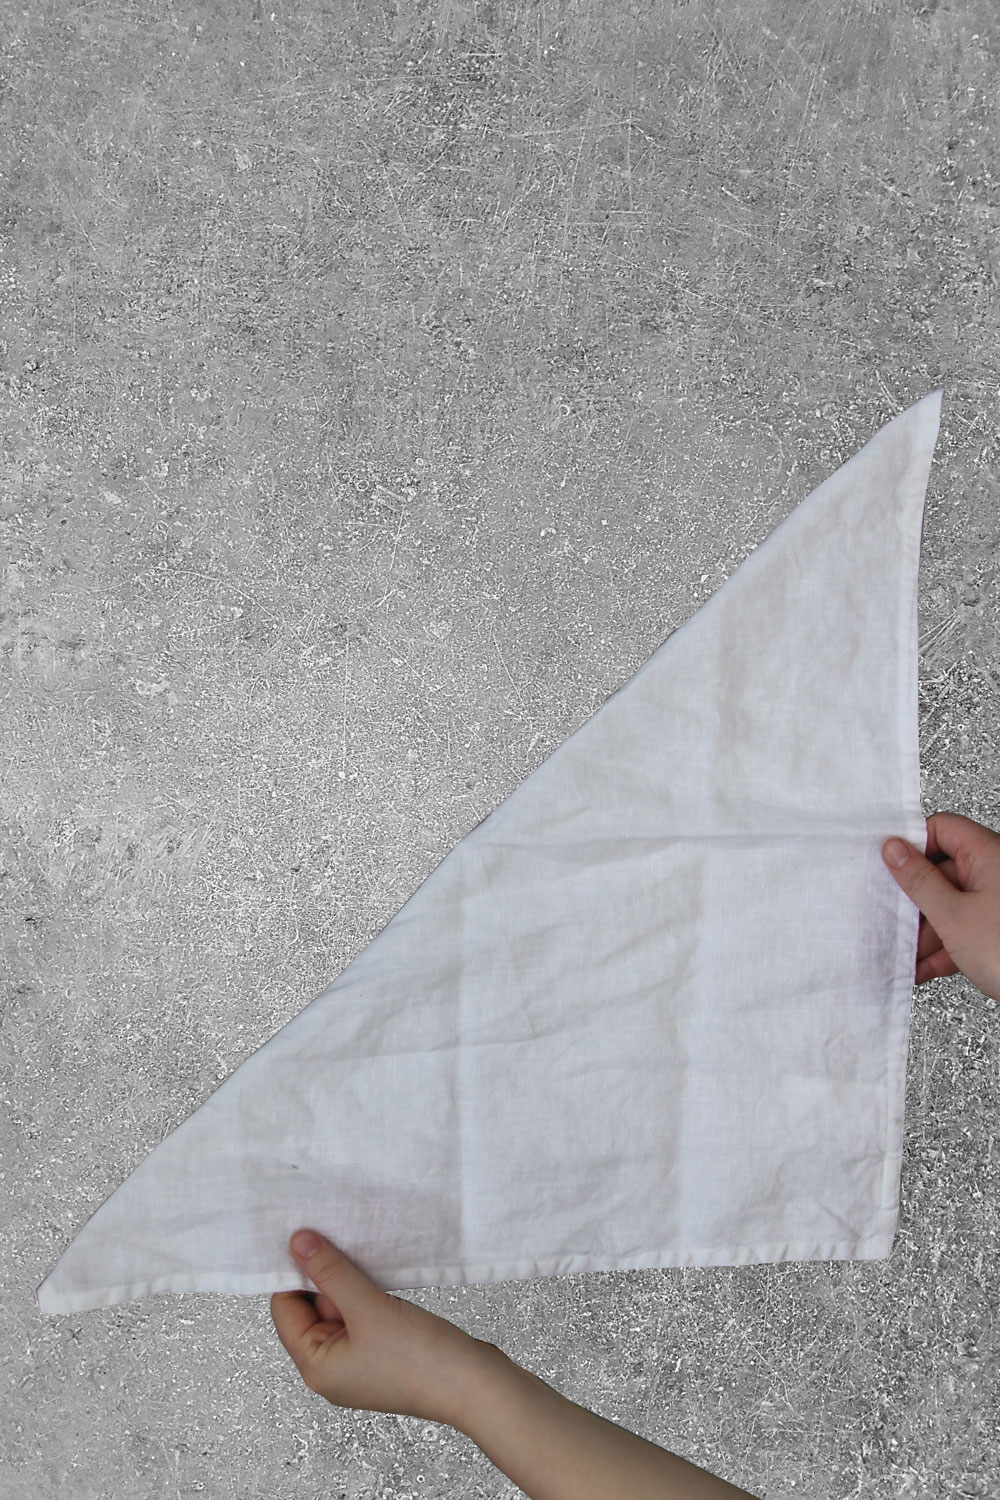
- Take one corner of the napkin and fold it along the diagonal, creating a triangle. Take time to make sure the corners are aligned, before pressing down the crease
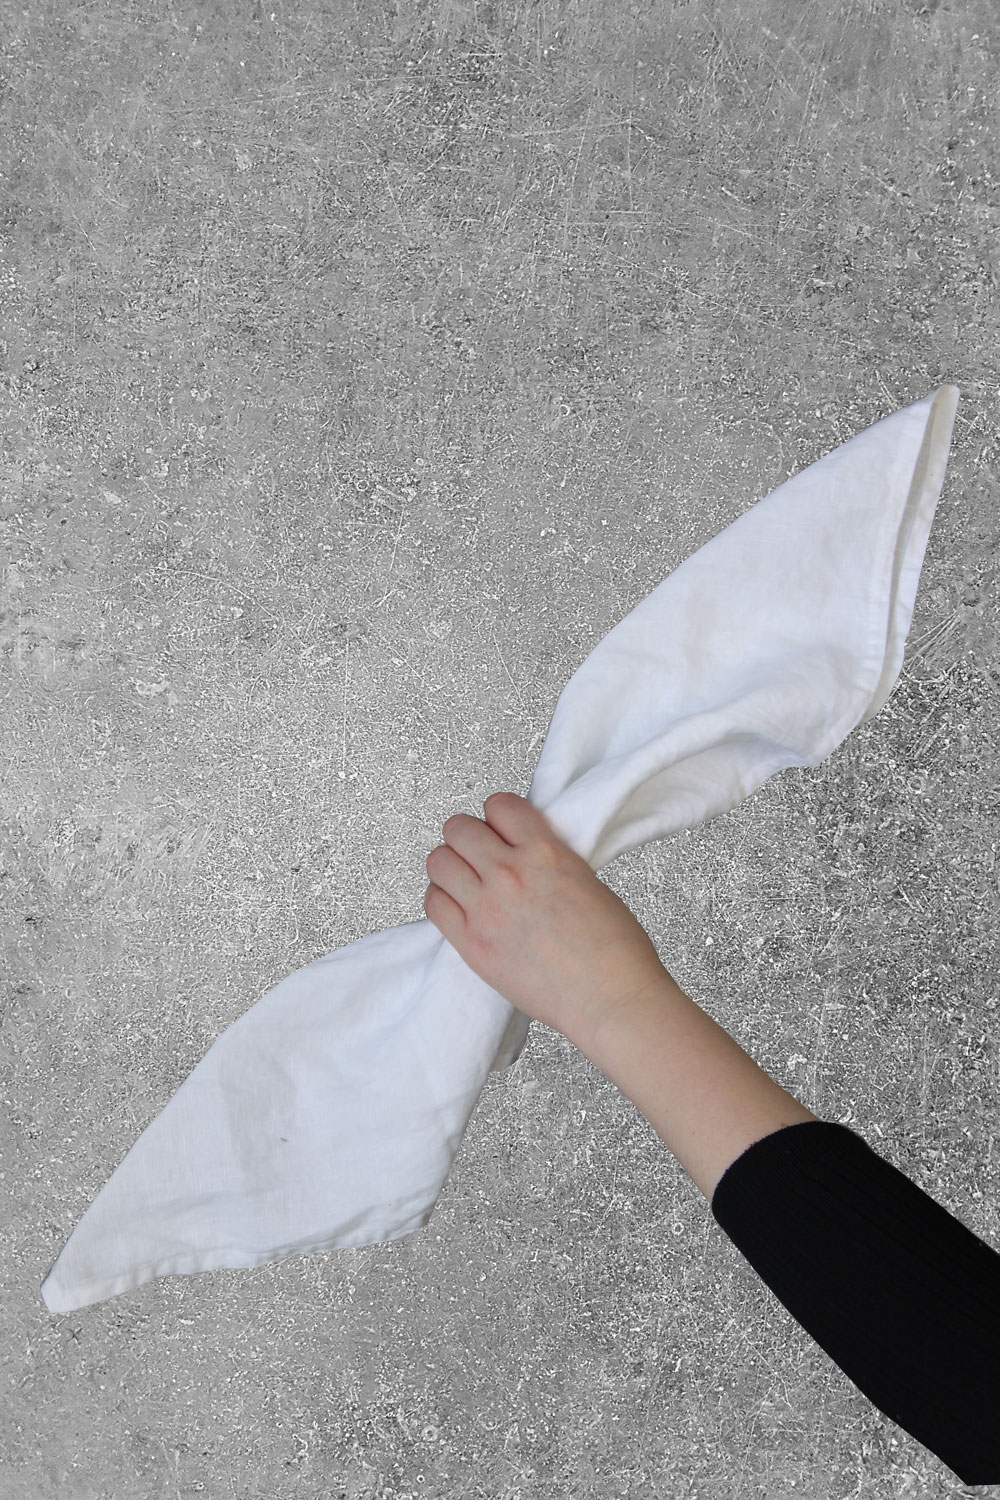
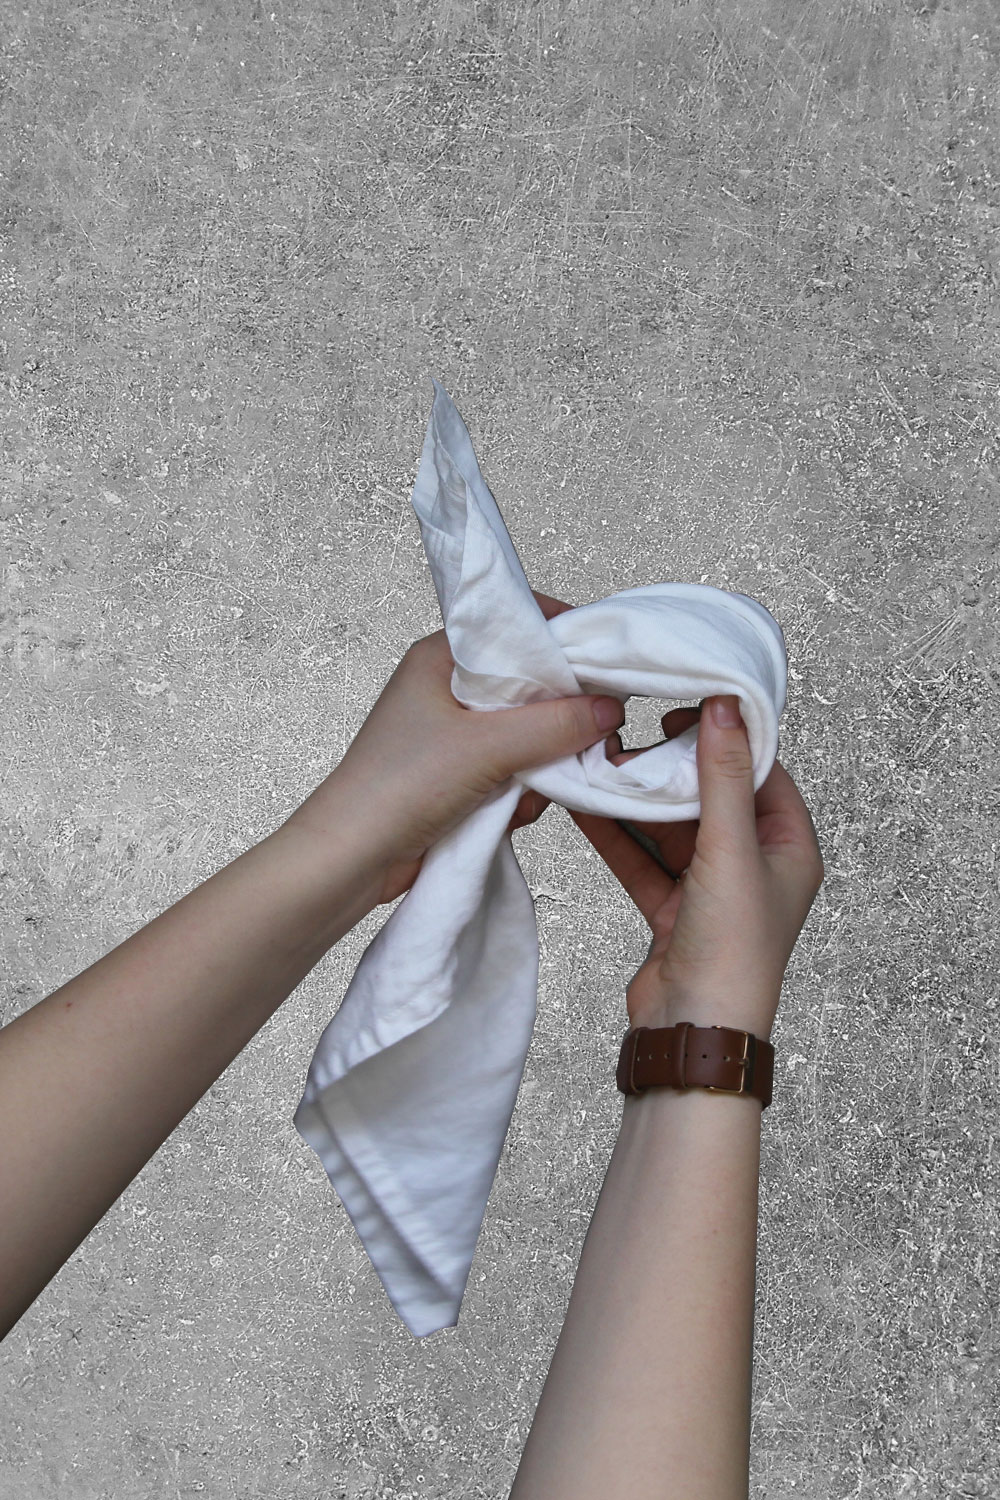
- Start to tie the knot by gathering the napkin in the middle – however this is done on the diagonal once again.
- Pick up your napkin and take the top section and fold it down and across the lower section. This will create a loop, similar in shape to a backwards number 4.
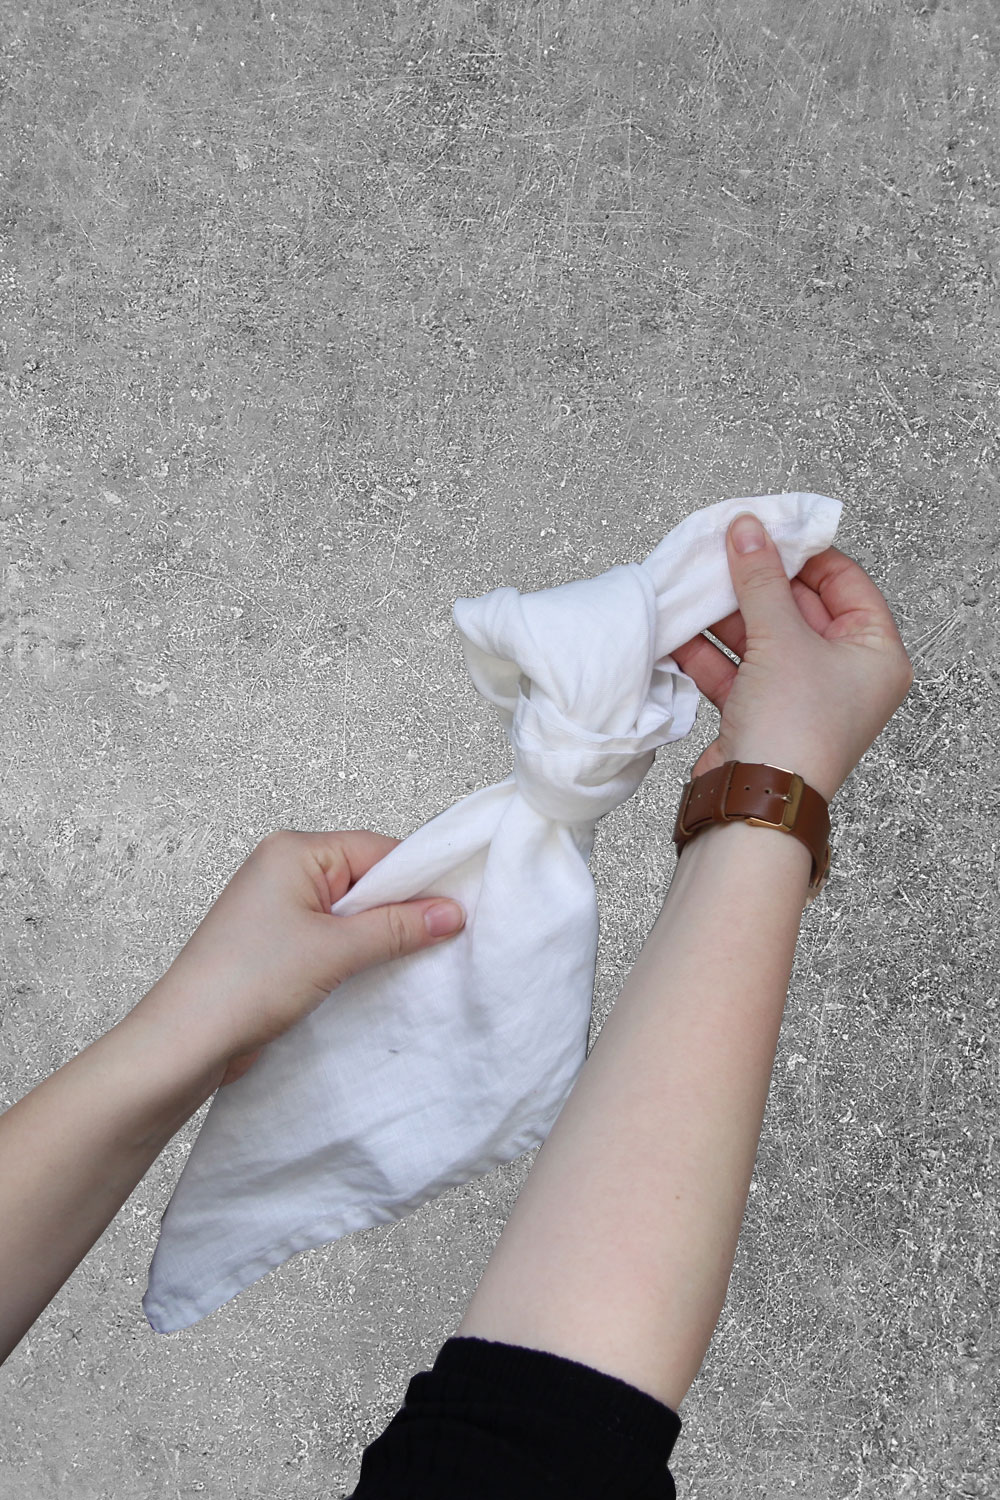
- Take the tail and feed it through the loop you just created.
- Pull it tight in order to tie your knot
- Once you’ve got your knotted napkin, you might be left with access material around the knot. Tuck this into the fold.
- Adjust the knot until you achieve the look you are aiming for.
- Place the napkin either alongside or atop your plate.
Use a square napkin for this style, as it requires you to fold it on a diagonal. This will help you to achieve the perfect curved knotted napkin.
I feel that this napkin doesn’t require any additional styling. If you want added detail, you can achieve this through your choice or napkin. For example, if you wanted to achieve a beautiful statement napkin, you might choose to use a Lame napkin. Sheer organza spread over a plain under cloth, a Lame napkin would make a glamorous curved knotted napkin.
Disclaimer – We always endeavour to credit the correct and original source of every image that we use. If you think that this credit may be incorrect, then please contact us at info@houseofthree.co.uk